Creating a New User in TeamGuru
To create a new user, please follow these steps:
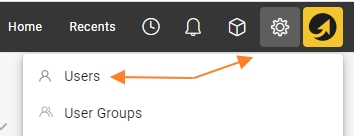
1. Go to the "Settings" menu. (Please note that the "Settings" menu is only visible to privileged users)
2. In the submenu, select "Users."
To create a single user:
3. Click on the "Create New" icon.

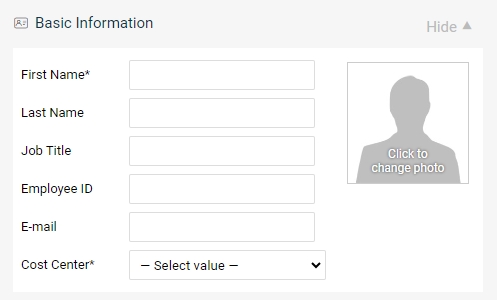
4. Fill in all the basic information for the user, including their first and last name, email, and cost center.
5. Choose the type of user account you want to create:
a) Active user: User with access to the system.
b) Passive user: User without access to the system, will appear in searches and options.
c) Inactive user: Deactivated account, for users who have left the company.
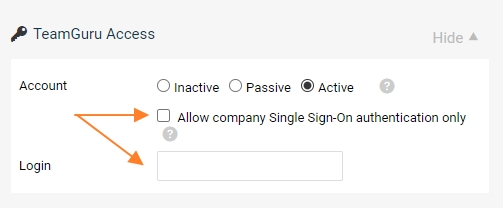
6. Select "Active" for a new user with system access. Check box for SSO login or fill in the Username for “Login”. The user will receive an email specifying the selected option providing the details of the "Login" name.
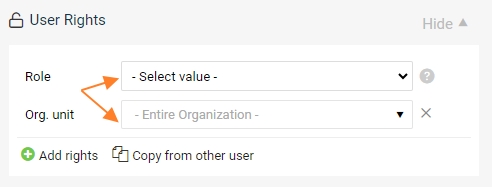
7. Select user access rights by choosing the Role and Org. unit, for which this Role applies.
Note: A user can have multiple user roles, allowing them, for example, to view documents at a higher level and edit documents at a lower level.
- To add a new user role, click on the plus icon "Add rights."
- User rights can be copied from another user who already has an active account.
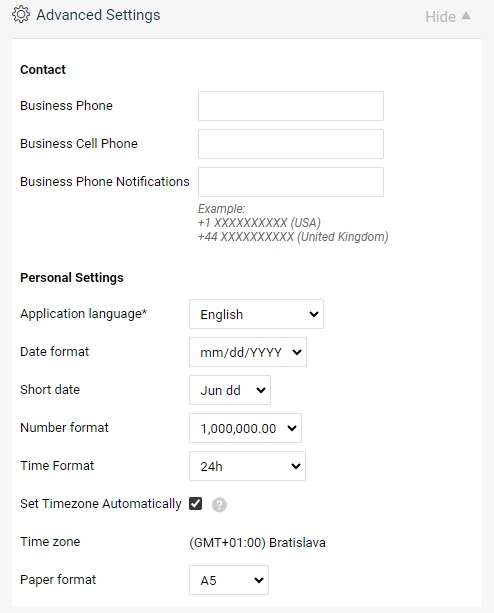
Optional "Advanced Settings" Section:
8. The "Advanced Settings" section is optional, and users with active accounts can customize this section under their profile.
To complete the user creation:
9. Click on "Save and send login link."

10. The new user will receive an email message with their login details and a link to create their password.
Troubleshooting with New User:
1. If the new user did not receive the email with their login details, you have the option to resend the link.

2. You can reset the user's password and send a reset link to the user. The user can then set up a new password.
