How to create a new checklist & template
Using checklists can help you to define the standard items that need to be completed / approved to meet your process requirements.
Checklists can be used for many different purposes including changes of the management processes: a new product introduction (the whole process, or individual phases), production line modifications, IT infrastructure changes, etc.
Video Guide
To create a new checklist, please go to the Checklists module and follow the next steps. 
1. Click on the Add icon 
2. Define the basic fields such as title, responsible, protect settings, etc.
3. Go to the 'Checklist definition' tab and choose an approver and a Checklist type (template) (how-to-create-a-new-checklist-type)

4. Define your 'Whom to Inform' group. Select who should be informed about this document and receive email notifications about new updates and comments. 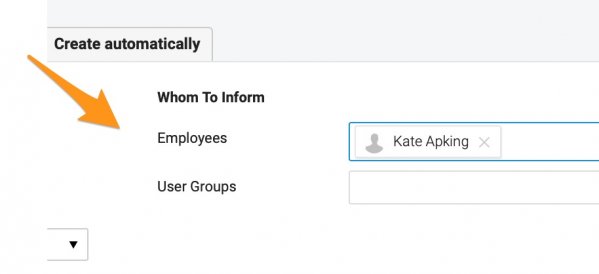
5. Add description and attachments if needed. Save the document once you are done with your settings.
6. When you are done with your settings, please click the 'Send new checklist notification' button. Your 'Whom to Inform' group will be notified by email about a new checklist. 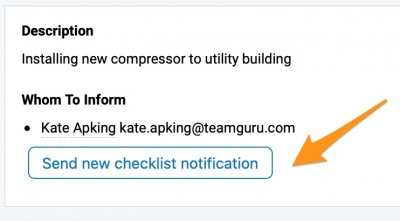
Please note that after you click this button, it will change to the 'Send checklist update notification' button.
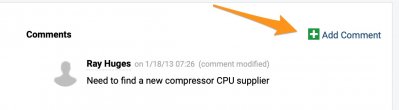
You will have to click the button whenever you want to inform your team about any update in your checklist, except for comments. When you add a comment and hit Save & Send, your 'Whom to Inform' group will receive the email notifications.
Once a checklist is defined, the responsible person can update the status of the items (add notes, progress status, ETA, etc.).
Click on your item if you need to update it.
Once you make any modifications, use the Save + Close button for the updates, use Send for sending a comment to Responsible. 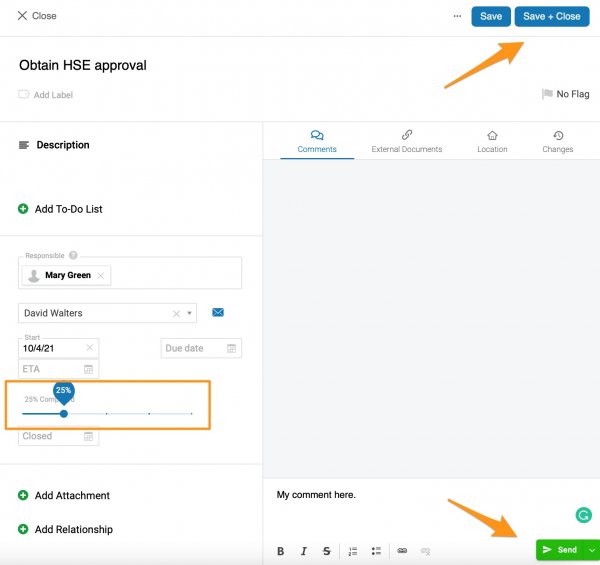
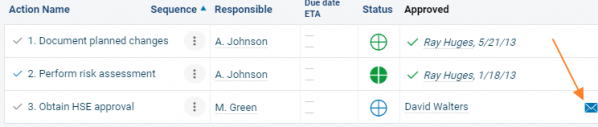
The predefined approver can approve the individual items. If you want to request approval, click on the envelope icon.
The approver receives an email notification with a live link to the task.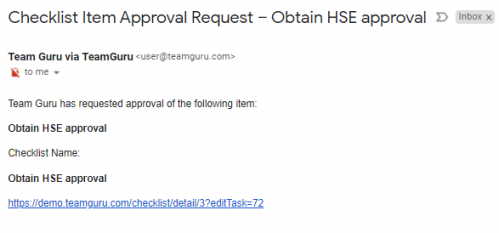
The approver can approve the document by ticking the Approve field.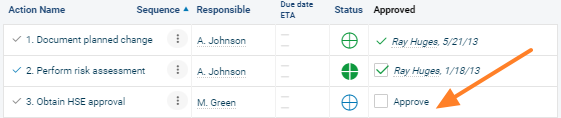
You can also set up the checklist that will be created automatically.
Go to the 'Create automatically' tab in the settings.
Tick the field and set up your time period.
You can also set actions' due dates for your future checklists based on the creation date. 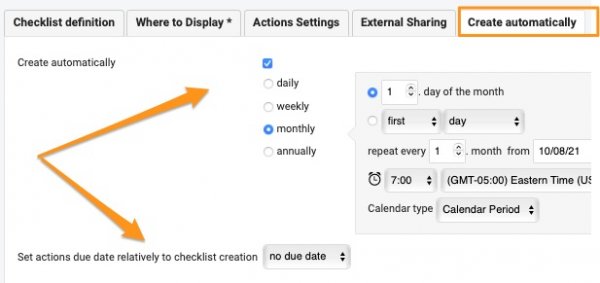
Then you will see this icon next to your document that indicates that new checklists of the same series are automatically created based on this document. 