Mass data entry
Learn how to enter data in bulk easily, in two different ways.
Enter data directly in the metric dashboard
-
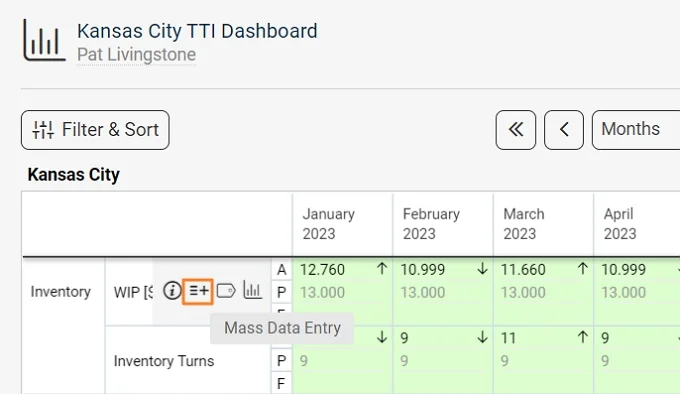
Open the mass data entry. Hover the cursor over the metric’s name until the options appear and select the Mass Data Entry icon.
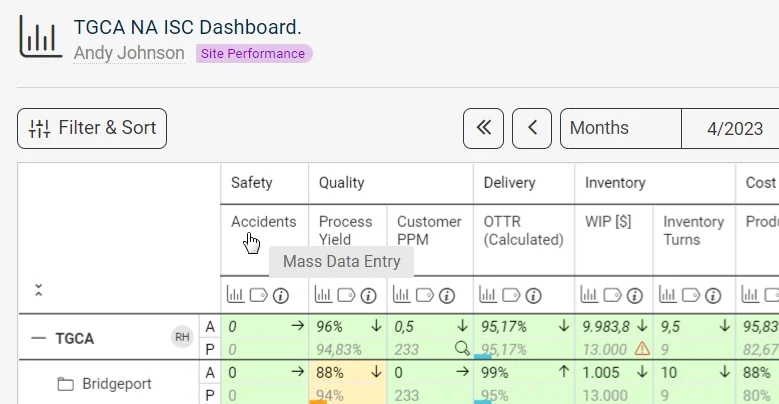
Alternatively, click the metric’s name.
-
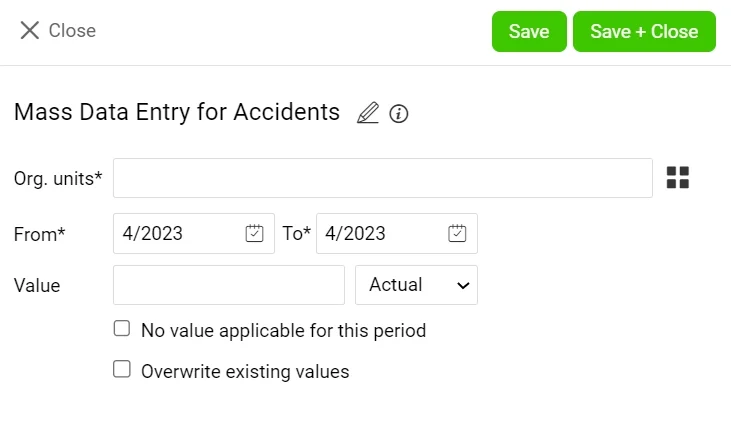
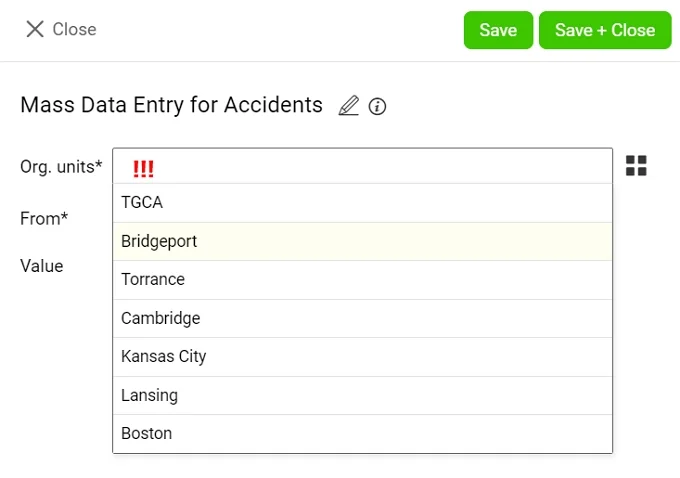
Choose the org. units, dates and values. Select only the org. units you want to enter data for, and make sure you select the correct dates and values (such as actual, plan etc.). Otherwise, you might overwrite already existing data.
Use the Metric Dashboards submenu
-
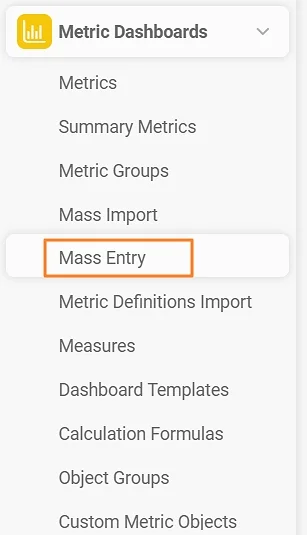
Open the mass entry. Go to the Metric Dashboards module and select Mass Entry from its submenu. With this option, the same value is entered for all org. units across the organization, so it is rarely used.
-
Create a mass data entry template. Click the green plus button to add a new mass data entry template.

-
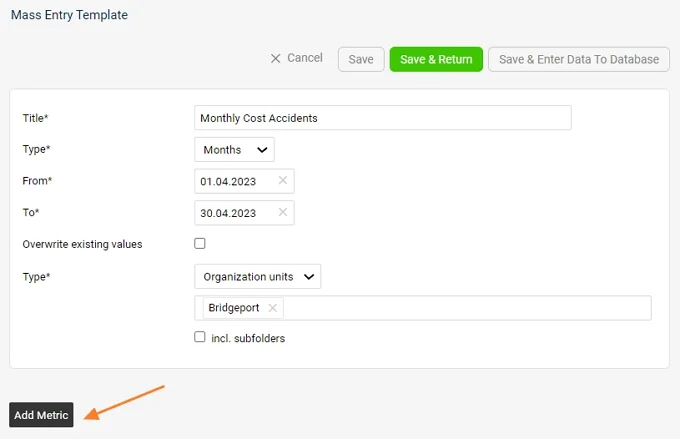
Add a metric. Complete all the details and click the Add Metric button.
-
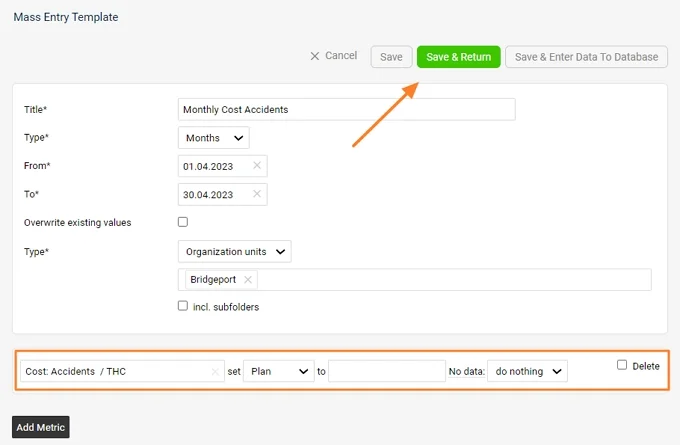
Save the values. Complete the metric’s details and click one of the Save buttons, according to your preference.
Still need help?
Write to us. We usually reply within an hour on business days.