Problem Escalation step by step
The Problem Escalation (PE) module enables a rapid response to a production stoppage through immediate notifications and an escalation system.
Overview of the steps
-
Create a list of problem / reject types. Before you start to create PE documents, prepare the types of problems you want to escalate.
-
Create escalation templates. Also prepare the escalation templates before you create PE documents.
-
Create a new problem escalation. Once the problem / reject types and the escalation templates are ready, you can create a new PE document.
The first two steps are done only at the beginning, when you start using Problem Escalation. System admins usually create the templates and the problem types.
Create problem / reject types
Create a list of problem / reject types, such as an equipment problem, a material shortage, a quality issue, etc.
-
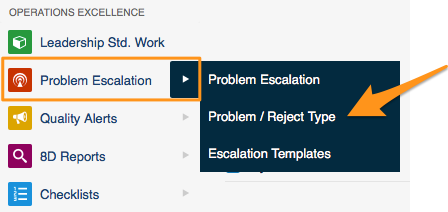
Open the problem types. Go to the Problem Escalation menu and the Problem / Reject Type submenu.
-
Add a new type. Click the Add icon to create a new type.

Create escalation templates
-
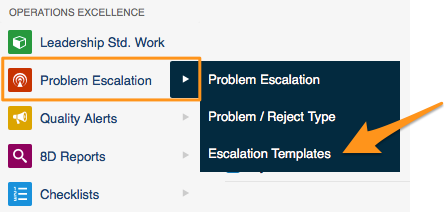
Open the escalation templates. Go to the Problem Escalation menu and the Escalation Templates submenu.
-
Add a new template. Click the Add icon to create a new template.
-
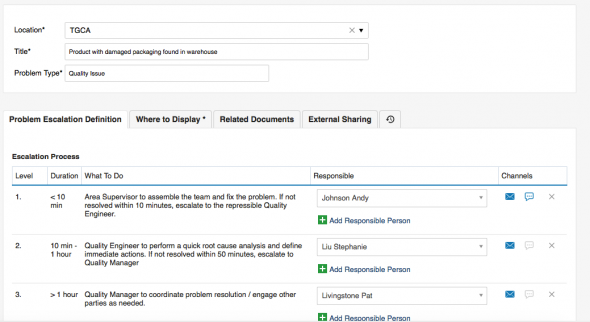
Select the location. In Location, select the org. unit of your structure that this template should be used for (each site or org. unit may have a different process).
-
Enter a title. Fill in the Title of the template.
-
Select the problem type. Select the Problem Type that this template should be used for (a material shortage may have a different process than a quality issue).
-
Set up the escalation levels. Set up the individual levels of the Escalation Process: who is responsible for solving the PE at each level, and after what time the system should escalate the issue if it is not solved.
-
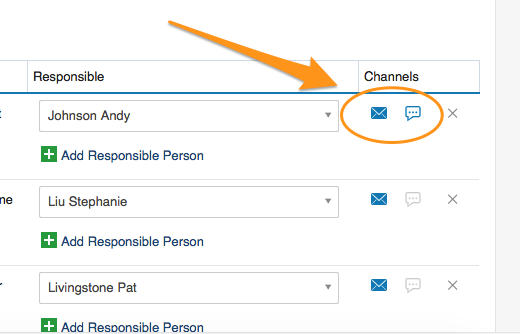
Select the channels. Select the information channels (email, SMS).
Create a new problem escalation
-
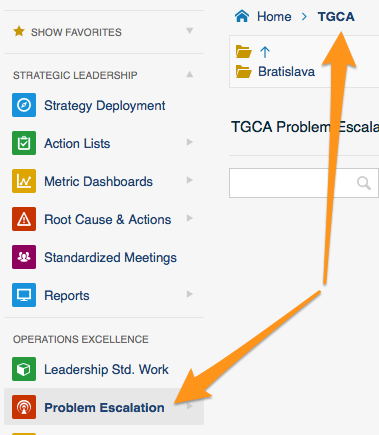
Open the org. unit. Click the Problem Escalation menu and go to the relevant organization unit of your structure.
-
Add a new PE. Click the Add icon to create a new PE.
-
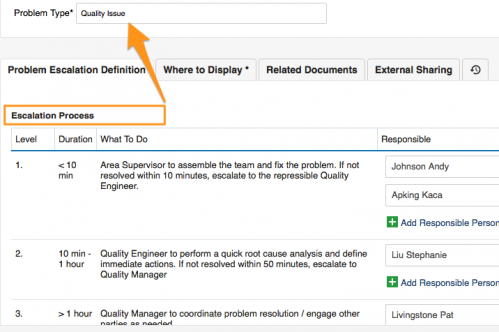
Check the location and the problem type. Check the Location and select the correct Problem Type. The Title and the Escalation Process are predefined according to your escalation template.
-
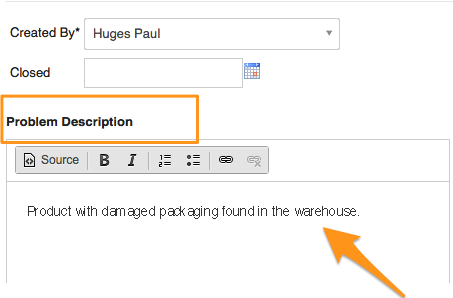
Describe the problem. Fill in the problem description.
-
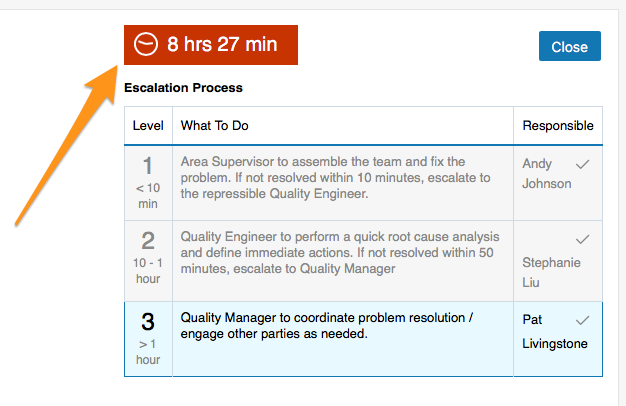
Save the PE. Click Save + Close. The time countdown begins.
-
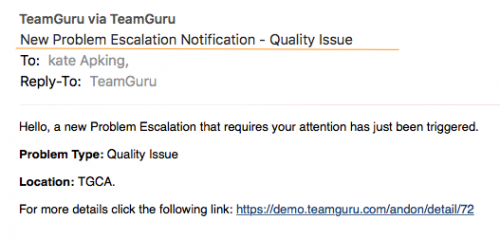
First-level contacts are notified. Once a new PE has been saved, an email notification (SMS) is sent to the first-level contacts of your escalation process.
-
The issue is escalated if not solved. If the PE is not closed within the time specified for the first-level contacts, an escalation email is automatically sent to the second-level contacts.
-
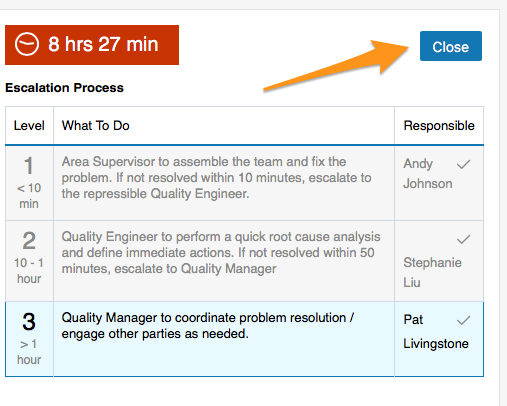
Close the PE. Click the Close button once the issue has been solved.
Share your progress
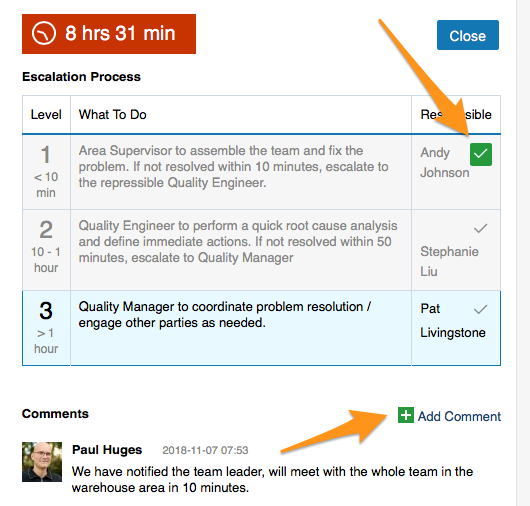
- Click the tick icon next to your name to make it green. Your colleagues can see that you are working on solving the issue.
- Use the Comments field to keep your colleagues informed about the progress.
Video guide
Still need help?
Write to us. We usually reply within an hour on business days.