Project phases in the action list
Dividing a project into clear phases makes even complex tasks feel manageable and creates an efficient workflow. Each phase is a stepping stone that guides you from planning to completion with focused, organized steps.
Please note that project phases differ from project stages: phases refer to specific actions within your project, while stages represent milestones at the project level.
To use project phases in your project, they must first be created in the system. This requires sufficient rights, so please contact your system administrator if you need new phases added.
Create a project phase
-
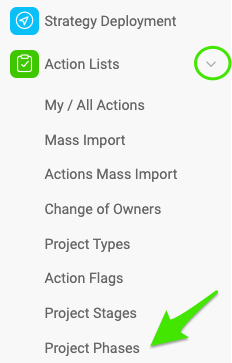
Open the project phases. Go to the Action Lists module, click the submenu arrow and select Project Phases.
-
Create a new list. Click the Create New button.

-
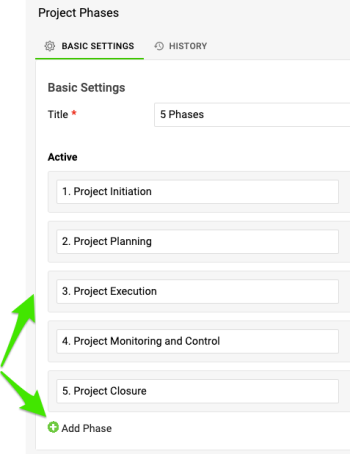
Add the phases. Enter a title for your list of project phases, then click Add Phase for each phase you want to include.
Set up project phases in your action list
-
Open the action list in edit mode. Open the action list document in edit mode.

-
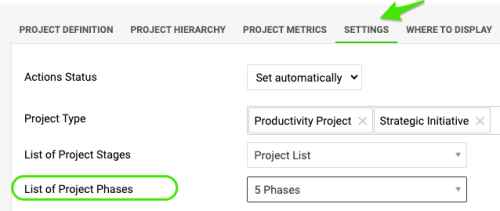
Select the phase list. Go to the Settings tab and select the List of Project Phases from the submenu.
-
Save the settings. Click Save & View to go to view mode.

-
Add or open an action. In the actions section, click Add Action or click an existing action.

-
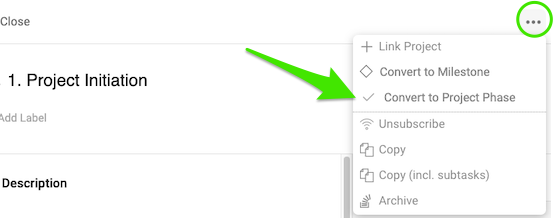
Convert the action to a phase. Click the ellipsis next to the action and select Convert to Project Phase.
-
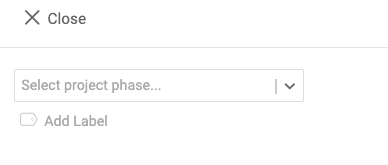
Choose the phase. Choose the phase you want. The action is highlighted to visually indicate the phase.

-
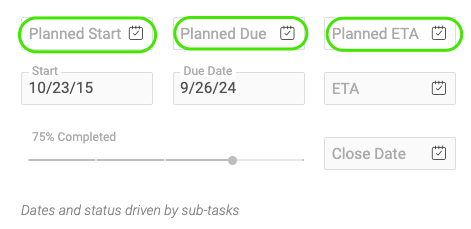
Set the phase dates. You can set a plan start date and due date for the phase that differ from the start and due dates of its sub-actions. This lets you manage the timeline of the phase separately.
-
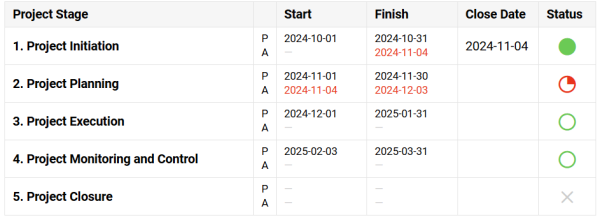
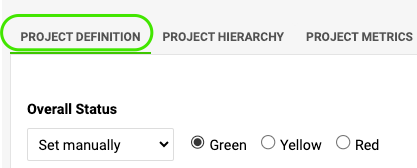
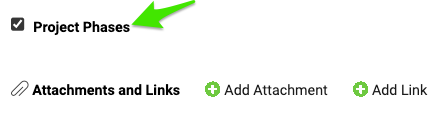
Show the phase summary in the header. To display the phase summary in the action list header, go back to edit mode. On the Project Definition tab, scroll down and make sure the Project Phases field is enabled.
-
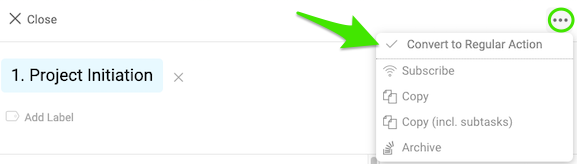
Convert a phase back if needed. To convert a phase back to a regular action, select the action, click the ellipsis and choose Convert to Regular Action.
-
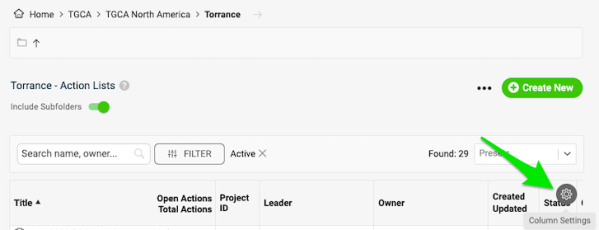
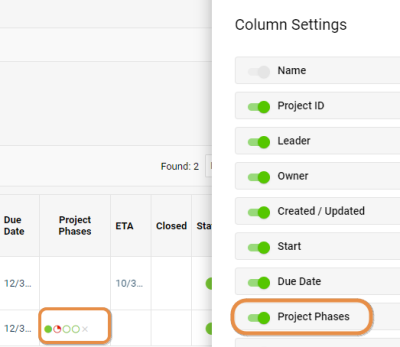
Show phases in the document list. You can also display the status of your phases in the document list: hover over the upper right corner, click the settings gear and enable the Project Phases option.
Still need help?
Write to us. We usually reply within an hour on business days.