How to enable unit conversion
TeamGuru lets you set up automatic unit conversion for your KPIs.
For example, does one of your locations track production in pounds and another in kilograms? No problem: both can use a single metric, and the rollup can be displayed in either “lbs” or “kg”.
How unit conversion works
- Choose the unit of measure. You can select the unit of measure for your metric.
- Standardized data. TeamGuru automatically standardizes the data from your various units of measure across your entire org. structure.
- Display in the units you want. Metrics in the dashboard are displayed in the base unit, but you can change it to the units you want.
Enable units conversion in the metric’s settings
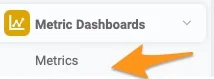
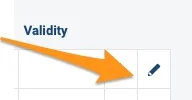
Open the metric’s settings
Go to your metric’s settings.
Turn on units conversion
Set Enable units conversion to Yes.
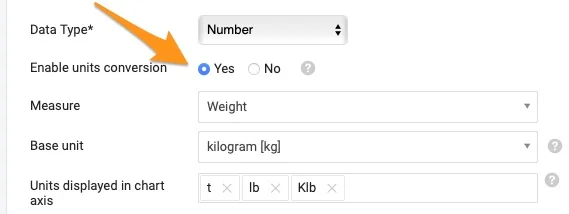
Select the measure and base unit
Select the Measure and the Base unit.
Most standard measures are already defined in the system. If you don’t find the measure you need, contact our team at support@teamguru.com or your system administrators to add it, since a sufficient role is required. How to set up a measure is described at the end of this article.
Choose the chart axis units
In Units displayed in chart axis, select the units you want to use in the chart axis. Based on the data in the chart, TeamGuru chooses the most appropriate of these units.
How the base unit is used
TeamGuru uses the base unit to store metric values in the database. Users can still display the data in the dashboards in their preferred unit of measure (e.g. the base unit is pounds, but you display the data in a dashboard in kilograms). Values in the user’s preferred units are converted from the base unit.
If you are modifying a metric that already has values, make sure the base unit fits the unit of the stored data. Changing the base unit of a metric that is already in use can inadvertently change the meaning of its stored data.
Also, if you use Mass import or API to transfer data to TeamGuru, the values must be uploaded in the base unit.
Set a preferred unit of measure in the dashboard
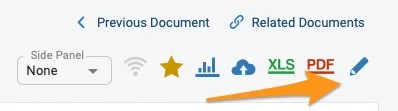
Open the dashboard settings
Go to your dashboard’s settings.
Select the metric
Click your metric on the Dashboard Setup tab.
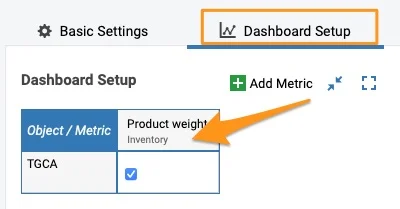
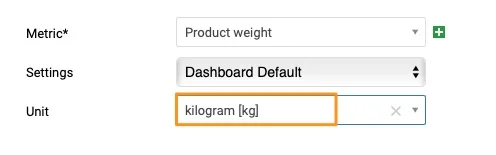
Select the unit
Select your unit.
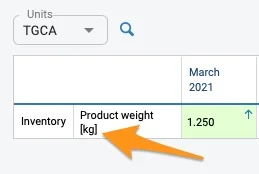
Check the unit in the dashboard
The unit is shown in the dashboard in square brackets after the metric.
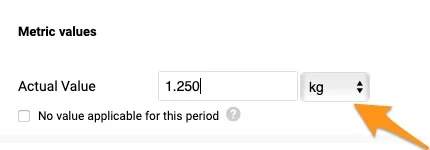
Enter values in another unit
When you click to enter values, your predefined unit is selected by default. You can still select a different unit from the menu if needed.
If you export values from your dashboard to an XLS file using the Custom interval option, the values are exported converted to the base units.
Set up a measure
Open the measures
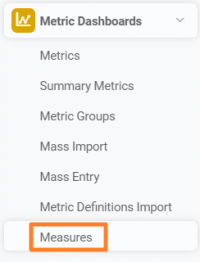
Go to the Metric Dashboards module and select Measures from the submenu.
Create a new measure
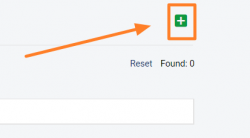
Click the green plus button in the upper right corner to create a new measure.
Define the measure and its units
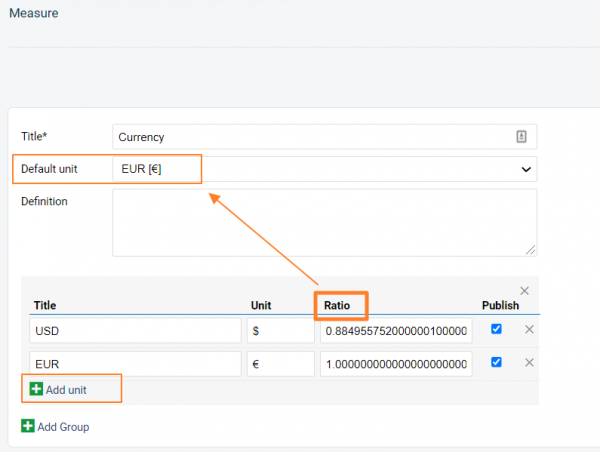
Define your measure: set up the title of the unit, the Default unit and the Definition.
Add other units and their ratio to the default unit by clicking the green plus button Add unit. Fill in the title, the unit’s symbol and the Ratio, and save your settings.
Video guide
Still need help?
Write to us. We usually reply within an hour on business days.