How to set up the Action List Header
You can customize your project header in the action list template. A sufficient role is required to create or modify the template.
Follow this link to learn more about action list, checklist and corrective actions templates.
Set up the template
Open the template list
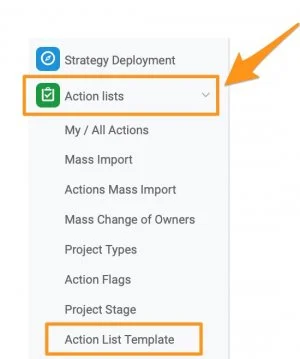
Go to the Action Lists module, click the drop-down menu arrow and select Action List Template from the submenu.
Create or edit a template
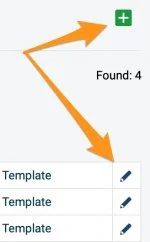
To create a new template, click the green plus button. To modify an existing template, click the edit pencil icon next to it.
Add the actions
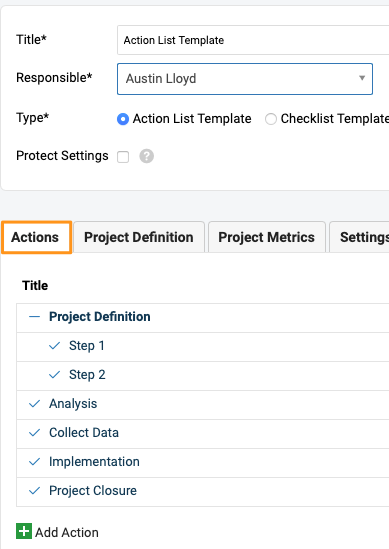
Define the template’s title, responsible person and protect settings. Add your actions on the Actions tab and define their offset dates, responsible person, approver, dependencies, etc.
Choose the header fields
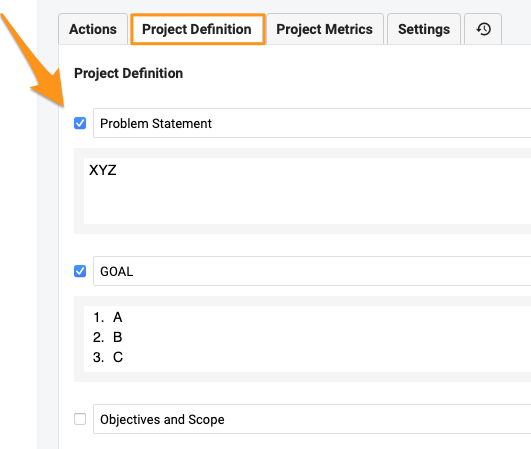
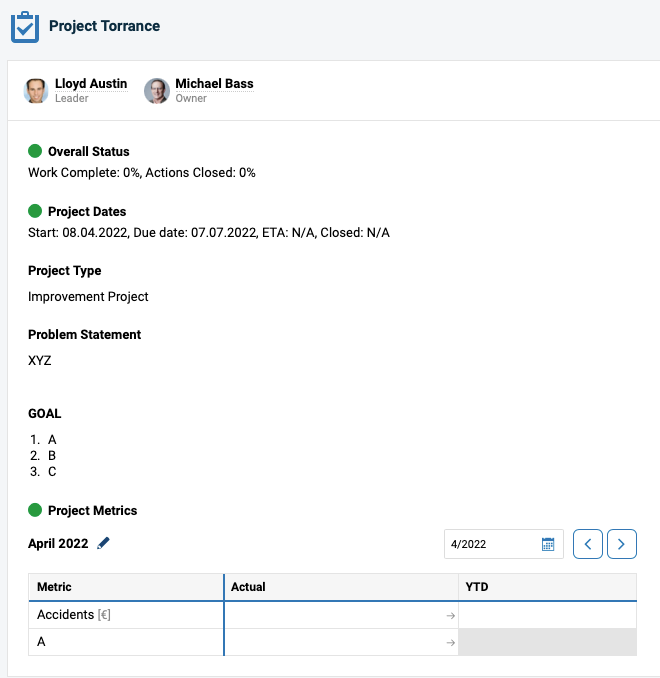
On the Project Definition tab, select the fields you want to display in your project header: simply tick or untick the box of each field. You can also pre-enter text. You can customize the header even further:
- Rename the header fields, such as Business Goal, Problem Statement, Objectives and others.
- Arrange the layout of the project sections and place them where they make the most sense for you (drag & drop).
- Predefine text in each section of the template and easily transfer it to your project. Please note that it can be overwritten at the document level.
- Add tables to your sections where applicable, for a simple and clear view.
- Display pictures to bring more visuals to your team.
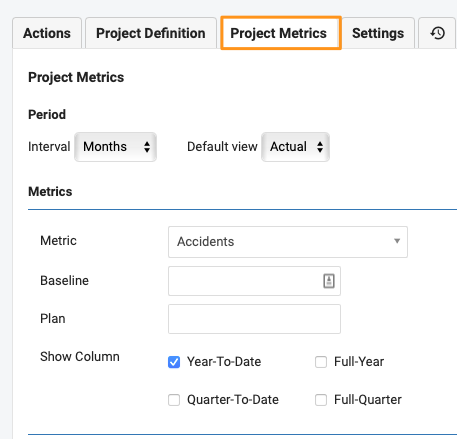
Select the project metrics
Select your Project Metrics.
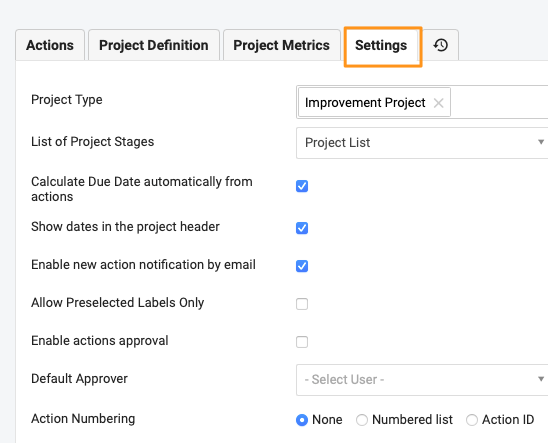
Predefine the settings
Predefine the other project Settings.
Create a project from the template
Create a new project
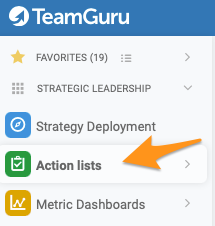
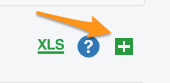
Once you have defined your action list template, you are ready to create a new project. Go to your action lists and click the green plus button on the right to create a new project.
Select the template
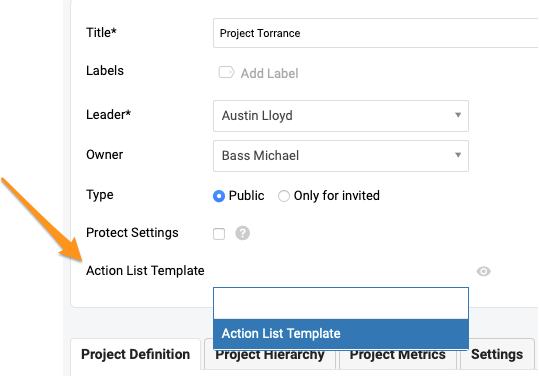
Define the main settings, such as title, labels, leader, etc., and select your template from the Action List Template submenu.
Preview the template
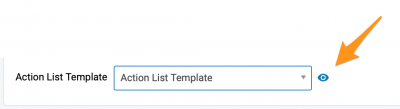
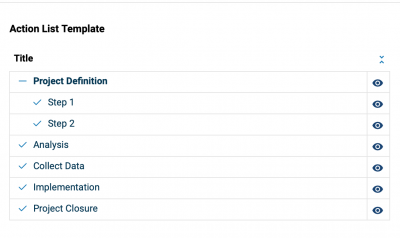
Use the eye icon to preview the actions and settings of the template.
Choose where to display it
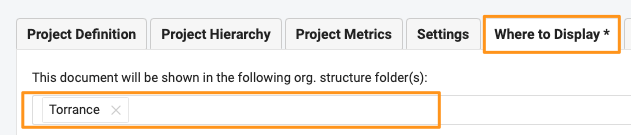
Select the location(s) Where to display your action list document.
Save the action list
Save your action list.
Please note that you can also apply a template to an existing action list. However, if the text fields already contained text before you applied the new template, the predefined text from the template is not copied over.
Still need help?
Write to us. We usually reply within an hour on business days.