How to add labels to standard documents
Mark your related and standard documents with the same label, and search across all documents quickly and easily.
Video Guide (text instructions are below the video)
To create a new label, you have to be set up with a sufficient role. There are two ways to create a new label: in the system settings, or directly in a document in one step.
Create a label in the system settings
Open the label settings
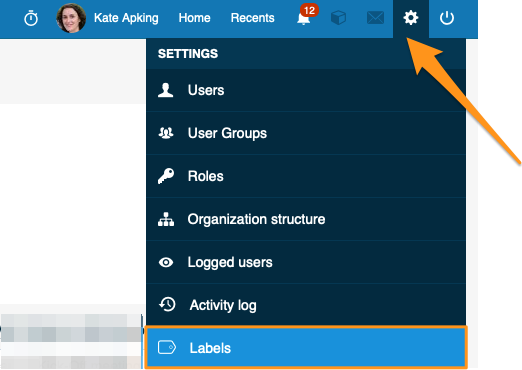
Click the settings button in the upper right corner of your TeamGuru page and choose Labels from the submenu.
Add a new label
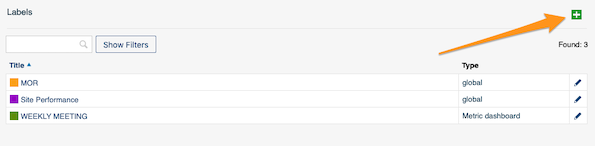
Create a new label by clicking the green plus button.
Set the title, scope and color
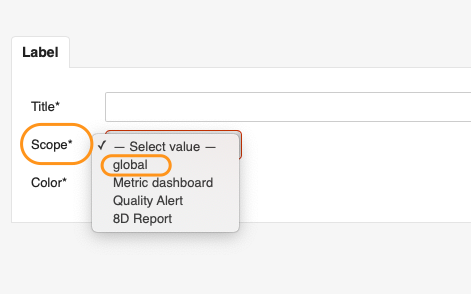
Fill in the Title, Scope and Color. In the scope, you can choose whether the label applies only to Metric dashboards, Quality alerts or 8D reports, or select Global to use it in all three modules.
Choose the locations
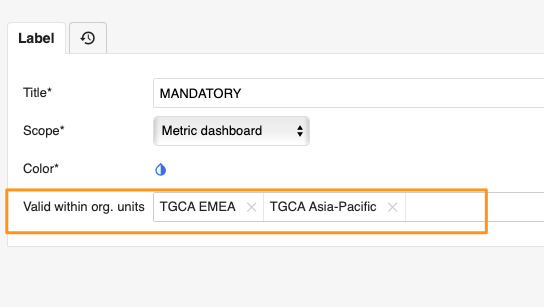
You can also choose the locations (org. unit folders) where the label will be primarily used.
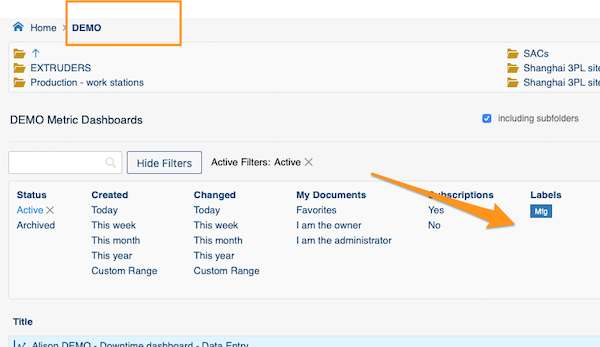
Find the label in the filter
Once the label is added to at least one document, it is displayed in the document filter under the selected org. unit folders.
The exception is a label that already existed in the system and was used for a document in a different location before you selected the locations. Such a label is displayed under that other folder too.
Create and add a label in one step
Open the document settings
Go to the document settings by clicking the edit pencil button.

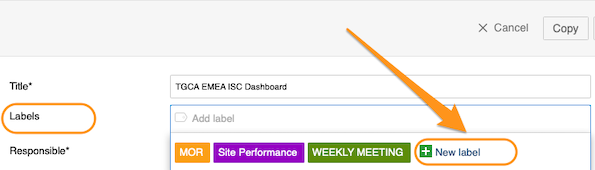
Create the label and select it
Create a new label by clicking the green plus button Create New Label, then select the label for your document.
Add a label to your document
Select labels in the document settings
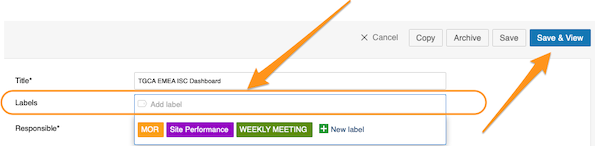
This works the same way as creating and adding a label in one step. Go to your document settings, click into the Labels field and choose from the available options. Click Save or Save & View once you have made your selection.
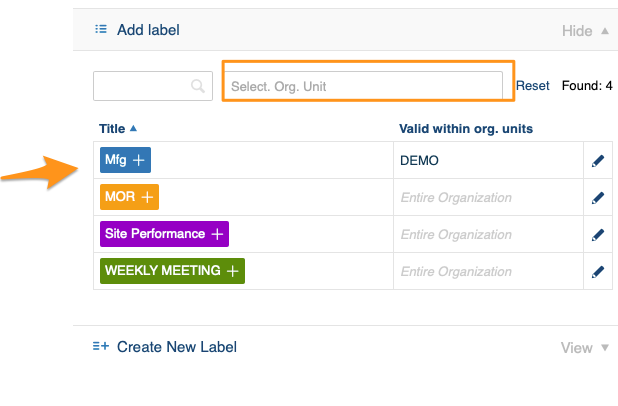
Labels offered for the document location
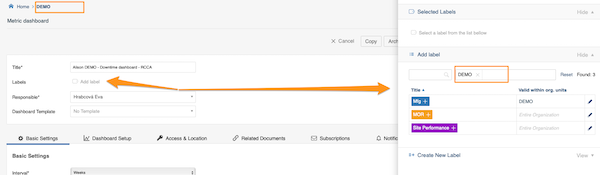
When you add labels to your document, only the labels for that location are offered: the system automatically sets the location in the filter to the document’s location.
Use labels from other locations
Even though a label’s location is specified, users from other locations can still use it too. They just delete the location from the filter, and all labels created and available in the system are shown.
Search documents by labels
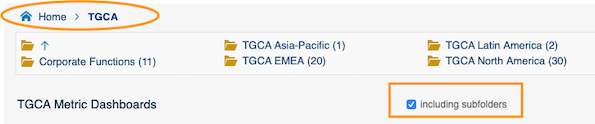
Select the folder
Select the folder where you want to search for your document. Don’t forget to tick the Including subfolders checkbox if you want to see documents from all the subfolders.
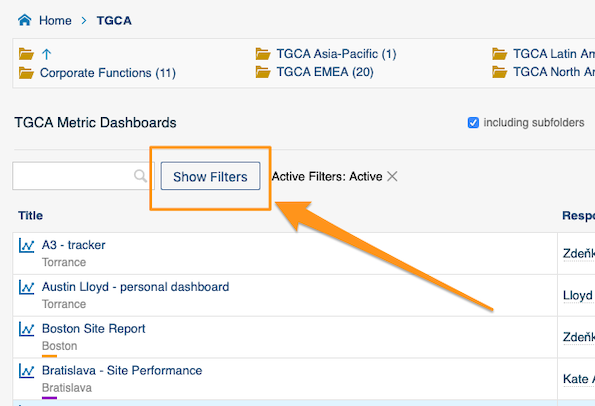
Show the filters
Click Show Filters next to the search field.
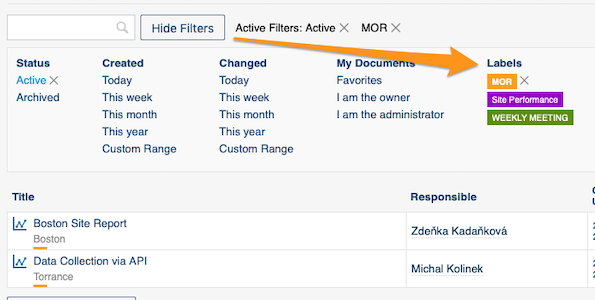
Select your label
Select your label in the filter.
Related article: How to preselect labels in your project
Still need help?
Write to us. We usually reply within an hour on business days.