Como criar um novo checklist e um modelo
Tradução automática do inglês. Exibindo o original em inglês.
Checklists help you define the standard items that need to be completed or approved to meet your process requirements.
Checklists can be used for many different purposes, including change management processes: a new product introduction (the whole process or individual phases), production line modifications, IT infrastructure changes, etc.
Video guide
Create a checklist
-
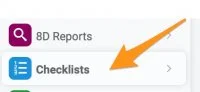
Open the Checklists module. To create a new checklist, go to the Checklists module and follow the next steps.
-
Add a new checklist. Click the Add icon.

-
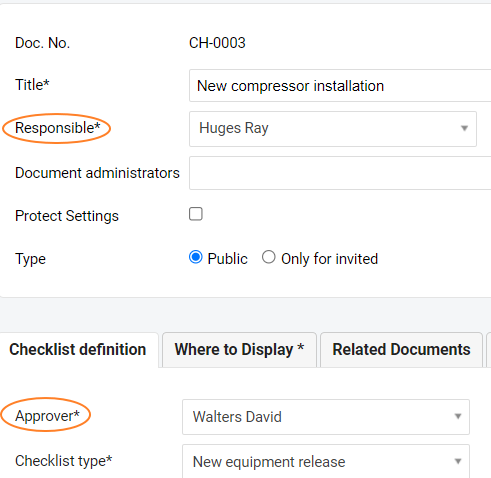
Fill in the basic fields. Define the basic fields such as the title, the responsible person, Protect Settings, etc.
-
Choose the approver and the checklist type. Go to the Checklist definition tab and choose an approver and a checklist type (template). See how to create a new checklist type.
-
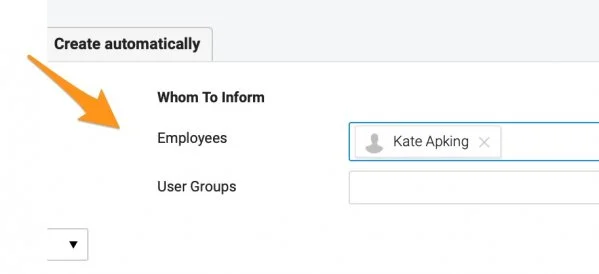
Choose whom to inform. Define your Whom To Inform group: select who should be informed about this document and receive email notifications about new updates and comments.
-
Add the details and save. Add a description and attachments if needed. Save the document once you are done with your settings.
-
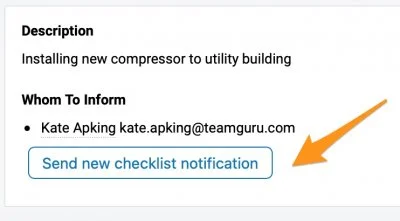
Notify your team. When you are done with your settings, click the Send new checklist notification button. Your Whom To Inform group is notified by email about the new checklist.
Send update notifications
After you click this button, it changes to the Send checklist update notification button.
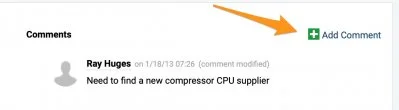
Click this button whenever you want to inform your team about any update in your checklist, except for comments. When you add a comment and click Save & Send, your Whom To Inform group receives the email notifications.
Update and approve the items
Update an item
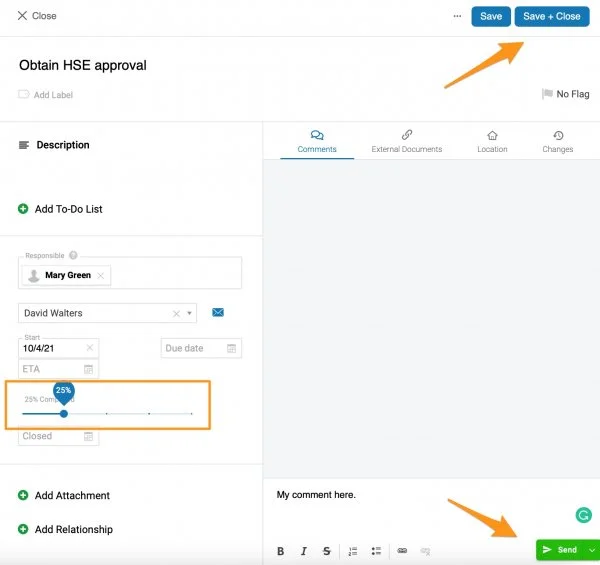
Once a checklist is defined, the responsible person can update the status of the items (add notes, progress status, ETA, etc.). Click an item to update it.
Once you make any modifications, use the Save + Close button to save the updates, and use Send to send a comment to the responsible person.
Request an approval
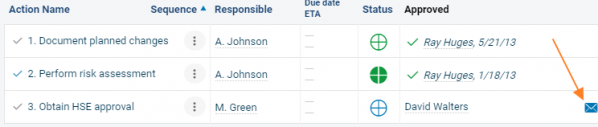
The predefined approver can approve the individual items. To request an approval, click the envelope icon.
Approval request email
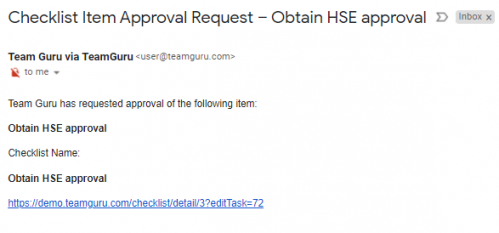
The approver receives an email notification with a live link to the task.
Approve an item
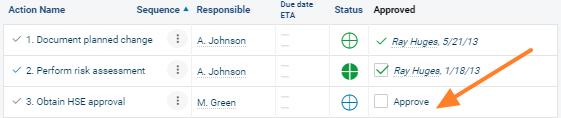
The approver can approve the item by ticking the Approve field.
Create checklists automatically
Set up automatic creation
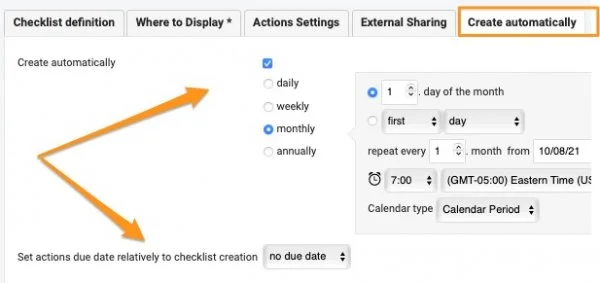
You can also set up a checklist to be created automatically. Go to the Create automatically tab in the settings, tick the field and set up your time period.
You can also set the due dates of the actions in your future checklists based on their creation date.
Recognize an automatic series
You will then see this icon next to your document. It indicates that new checklists of the same series are automatically created based on this document.

Os checklists ajudam a definir os itens padrão que precisam ser concluídos ou aprovados para atender aos requisitos do processo.
Eles servem para muitas finalidades, inclusive processos de gestão de mudanças: lançamento de um novo produto (o processo inteiro ou fases específicas), alterações em linhas de produção, mudanças na infraestrutura de TI etc.
Vídeo
Criar um checklist
-
Abra o módulo Checklists. Para criar um novo checklist, acesse o módulo Checklists e siga os próximos passos.
-
Adicione um novo checklist. Clique no ícone Adicionar.
-
Preencha os campos básicos. Defina os campos básicos, como título, responsável, Proteger configurações etc.
-
Escolha o aprovador e o tipo de checklist. Abra a aba Definição do checklist e escolha um aprovador e um tipo de checklist (modelo). Veja como criar um novo tipo de checklist.
-
Escolha quem informar. Defina o grupo Quem informar: selecione quem deve ser informado sobre este documento e receber notificações por e-mail sobre atualizações e comentários.
-
Adicione os detalhes e salve. Adicione uma descrição e anexos, se necessário. Clique em Salvar quando terminar as configurações.
-
Avise a equipe. Ao terminar as configurações, clique no botão Enviar notificação de novo checklist. O grupo Quem informar recebe um e-mail sobre o novo checklist.
Enviar notificações de atualização
Depois que você clica nesse botão, ele passa a ser Enviar notificação de atualização do checklist.
Clique nele sempre que quiser informar a equipe sobre qualquer atualização no checklist, exceto comentários. Quando você adiciona um comentário e clica em Salvar e enviar, o grupo Quem informar recebe as notificações por e-mail.
Atualizar e aprovar os itens
Atualizar um item
Depois que o checklist está definido, o responsável pode atualizar o status dos itens (adicionar observações, status de andamento, ETA etc.). Clique em um item para atualizá-lo.
Depois de qualquer alteração, use o botão Salvar + fechar para salvar e Enviar para mandar um comentário ao responsável.
Solicitar uma aprovação
O aprovador definido pode aprovar cada item. Para solicitar a aprovação, clique no ícone de envelope.
E-mail de solicitação de aprovação
O aprovador recebe uma notificação por e-mail com um link direto para a tarefa.
Aprovar um item
O aprovador aprova o item marcando o campo Aprovar.
Criar checklists automaticamente
Configurar a criação automática
Você também pode configurar um checklist para ser criado automaticamente. Abra a aba Criar automaticamente nas configurações, marque o campo e defina o período.
Também é possível definir os prazos das ações dos próximos checklists com base na data de criação deles.
Identificar uma série automática
Depois disso, você verá este ícone ao lado do documento. Ele indica que novos checklists da mesma série são criados automaticamente com base neste documento.
Precisa de mais ajuda?
Escreva para nós. Em dias úteis, costumamos responder em até uma hora.