Cómo crear un checklist y una plantilla
Traducción automática del inglés. Se muestra el original en inglés.
Checklists help you define the standard items that need to be completed or approved to meet your process requirements.
Checklists can be used for many different purposes, including change management processes: a new product introduction (the whole process or individual phases), production line modifications, IT infrastructure changes, etc.
Video guide
Create a checklist
-
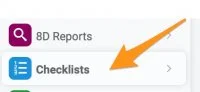
Open the Checklists module. To create a new checklist, go to the Checklists module and follow the next steps.
-
Add a new checklist. Click the Add icon.

-
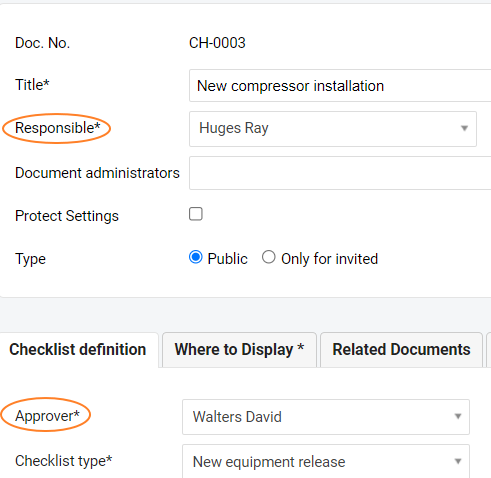
Fill in the basic fields. Define the basic fields such as the title, the responsible person, Protect Settings, etc.
-
Choose the approver and the checklist type. Go to the Checklist definition tab and choose an approver and a checklist type (template). See how to create a new checklist type.
-
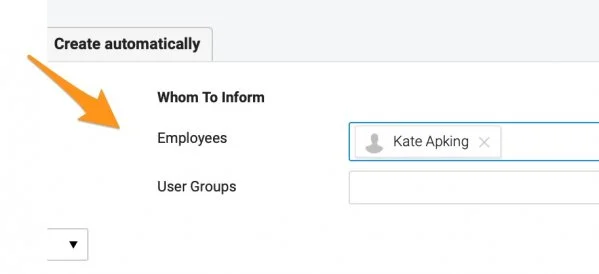
Choose whom to inform. Define your Whom To Inform group: select who should be informed about this document and receive email notifications about new updates and comments.
-
Add the details and save. Add a description and attachments if needed. Save the document once you are done with your settings.
-
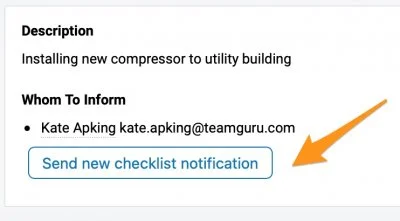
Notify your team. When you are done with your settings, click the Send new checklist notification button. Your Whom To Inform group is notified by email about the new checklist.
Send update notifications
After you click this button, it changes to the Send checklist update notification button.
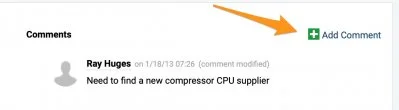
Click this button whenever you want to inform your team about any update in your checklist, except for comments. When you add a comment and click Save & Send, your Whom To Inform group receives the email notifications.
Update and approve the items
Update an item
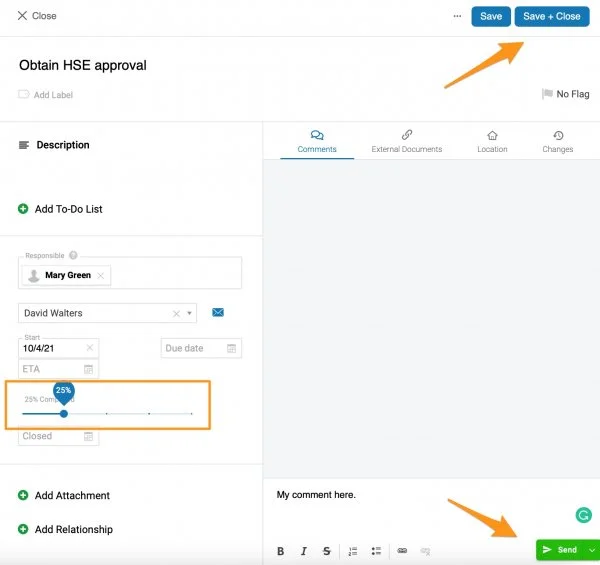
Once a checklist is defined, the responsible person can update the status of the items (add notes, progress status, ETA, etc.). Click an item to update it.
Once you make any modifications, use the Save + Close button to save the updates, and use Send to send a comment to the responsible person.
Request an approval
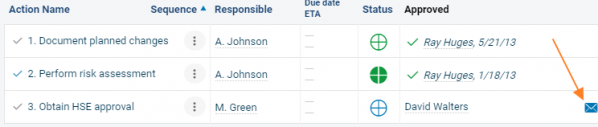
The predefined approver can approve the individual items. To request an approval, click the envelope icon.
Approval request email
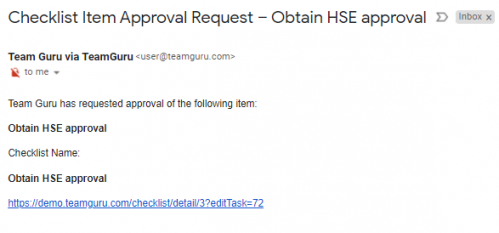
The approver receives an email notification with a live link to the task.
Approve an item
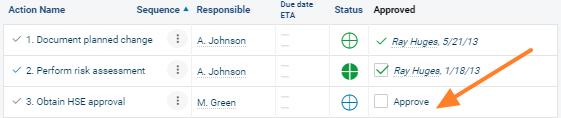
The approver can approve the item by ticking the Approve field.
Create checklists automatically
Set up automatic creation
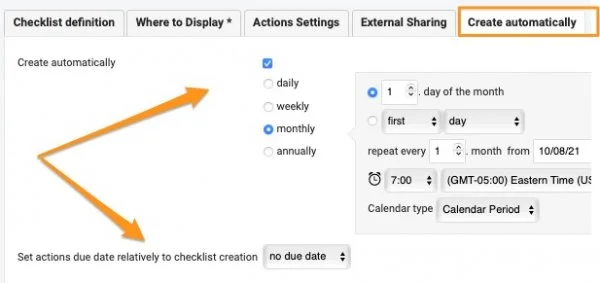
You can also set up a checklist to be created automatically. Go to the Create automatically tab in the settings, tick the field and set up your time period.
You can also set the due dates of the actions in your future checklists based on their creation date.
Recognize an automatic series
You will then see this icon next to your document. It indicates that new checklists of the same series are automatically created based on this document.

Los checklists le ayudan a definir los puntos estándar que se deben completar o aprobar para cumplir los requisitos de su proceso.
Los checklists sirven para muchos fines, entre ellos los procesos de gestión del cambio: la introducción de un producto nuevo (todo el proceso o fases concretas), modificaciones de una línea de producción, cambios en la infraestructura de TI, etc.
Video tutorial
Crear un checklist
-
Abra el módulo Checklists. Para crear un checklist, vaya al módulo Checklists y siga estos pasos.
-
Agregue un checklist. Haga clic en el icono Agregar.
-
Complete los campos básicos. Defina los campos básicos, como el título, el responsable, Proteger configuración, etc.
-
Elija el aprobador y el tipo de checklist. Vaya a la pestaña Definición del checklist y elija un aprobador y un tipo de checklist (plantilla). Vea cómo crear un tipo de checklist.
-
Elija a quién informar. Defina su grupo A quién informar: seleccione quién debe estar informado sobre este documento y recibir notificaciones por correo electrónico sobre actualizaciones y comentarios.
-
Agregue los detalles y guarde. Agregue una descripción y archivos adjuntos si lo necesita. Haga clic en Guardar cuando termine la configuración.
-
Avise a su equipo. Cuando termine la configuración, haga clic en el botón Enviar notificación de nuevo checklist. Su grupo A quién informar recibe un correo electrónico sobre el nuevo checklist.
Enviar notificaciones de actualización
Después de hacer clic en este botón, cambia a Enviar notificación de actualización del checklist.
Haga clic en este botón cada vez que quiera informar a su equipo de cualquier cambio en el checklist, salvo los comentarios. Cuando agrega un comentario y hace clic en Guardar y enviar, su grupo A quién informar recibe las notificaciones por correo electrónico.
Actualizar y aprobar los puntos
Actualizar un punto
Una vez definido el checklist, el responsable puede actualizar el estado de los puntos (agregar notas, estado de avance, fecha estimada, etc.). Haga clic en un punto para actualizarlo.
Después de hacer cambios, use el botón Guardar y cerrar para guardarlos y Enviar para enviar un comentario al responsable.
Solicitar una aprobación
El aprobador predefinido puede aprobar los puntos uno a uno. Para solicitar una aprobación, haga clic en el icono del sobre.
Correo de solicitud de aprobación
El aprobador recibe una notificación por correo electrónico con un enlace en vivo a la tarea.
Aprobar un punto
El aprobador puede aprobar el punto marcando el campo Aprobar.
Crear checklists automáticamente
Configurar la creación automática
También puede configurar un checklist para que se cree automáticamente. Vaya a la pestaña Crear automáticamente de la configuración, marque el campo y defina el periodo.
También puede definir las fechas límite de las acciones de sus futuros checklists a partir de su fecha de creación.
Reconocer una serie automática
Verá entonces este icono junto al documento. Indica que a partir de este documento se crean automáticamente nuevos checklists de la misma serie.
¿Necesita más ayuda?
Escríbanos. En días laborables solemos responder en menos de una hora.